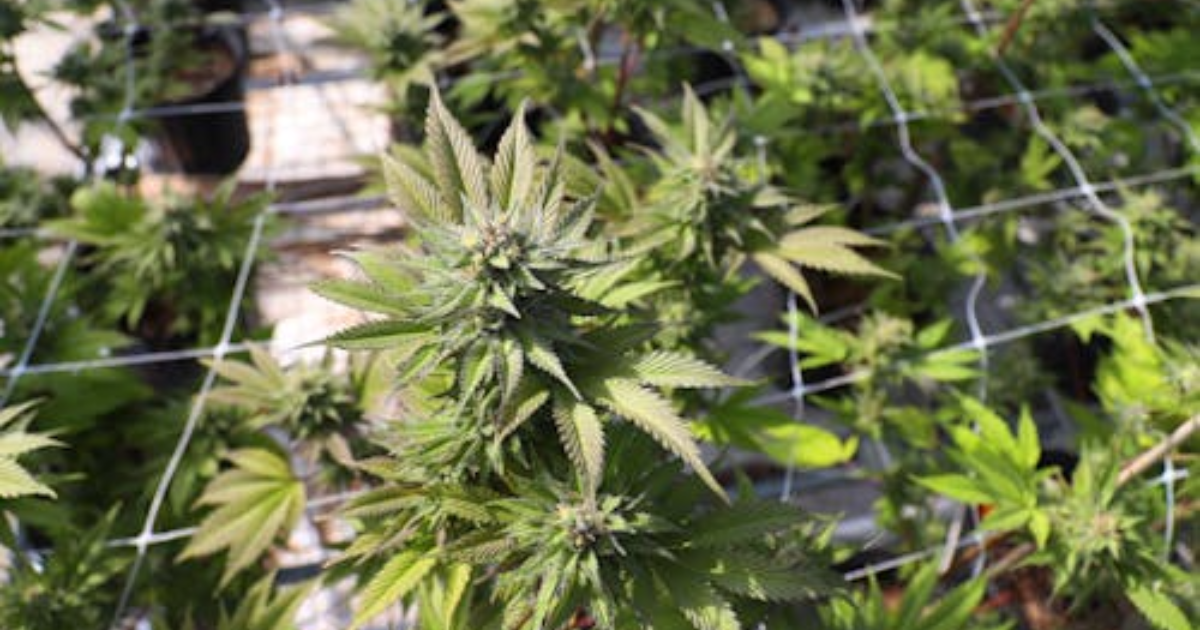
So, you’ve successfully grown your cannabis plants, and now you’re staring at those beautiful, aromatic buds, wondering, “What next?” Well, my friend, you’re about to embark on one of the most crucial stages in your cannabis journey – drying, curing, and storing. Sounds intimidating? Fear not! We’re about to break it down into easy-peasy steps. Ready to dive in? Let’s roll!
The Importance of Drying and Curing
Imagine baking the perfect loaf of bread, only to leave it out, becoming all stale and sad. That’s what happens if you don’t properly dry and cure your cannabis buds. Drying and curing help preserve the flavor, aroma, and potency of your precious buds. It’s like aging wine to perfection!
Step 1: Drying Your Buds
1. Prep Your Space:
Find a dark, cool, and well-ventilated space. A closet or a small room works wonders. Ensure there’s no direct sunlight, as it can degrade the quality of the buds.
2. Hang ‘Em Up:
Take your cannabis branches and hang them upside down. You can use clothes hangers, string, or even wire racks. Make sure there’s space between each branch for good airflow.
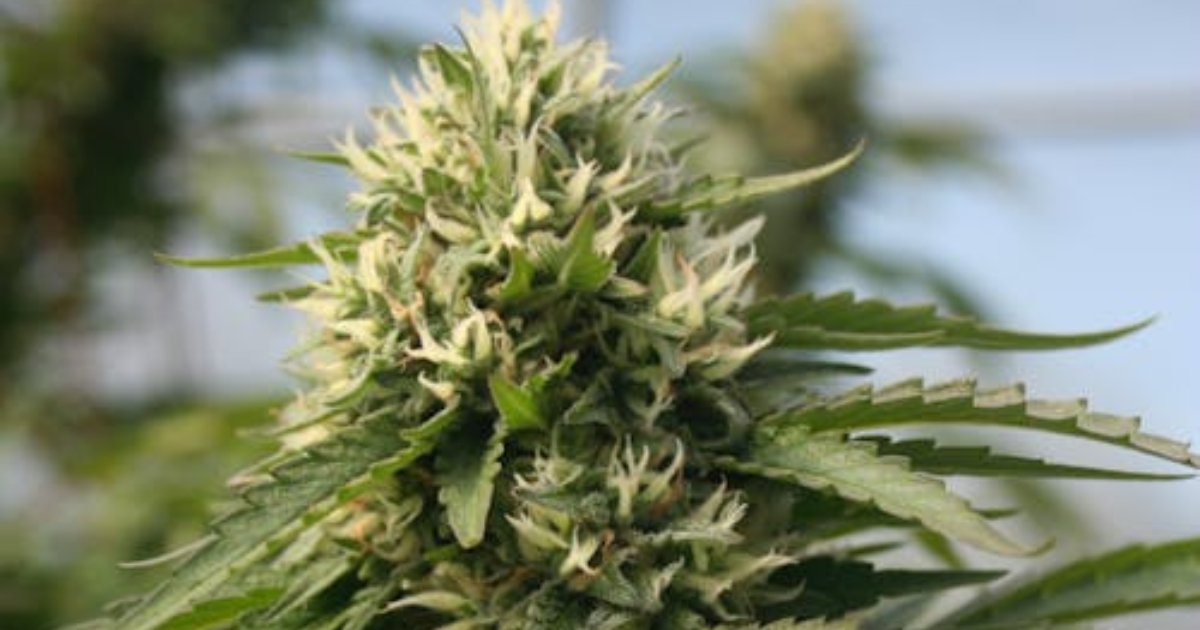
3. Wait and Watch:
This part requires patience. Leave your buds to dry for about 7-10 days. Check on them regularly. The buds are ready when the smaller stems snap easily, but the larger ones still feel slightly bendy.
Step 2: Curing Your Buds
1. Trim and Tidy:
Now that your buds are dry, it’s time to trim off any extra leaves. This makes your buds look neat and boosts their flavor.
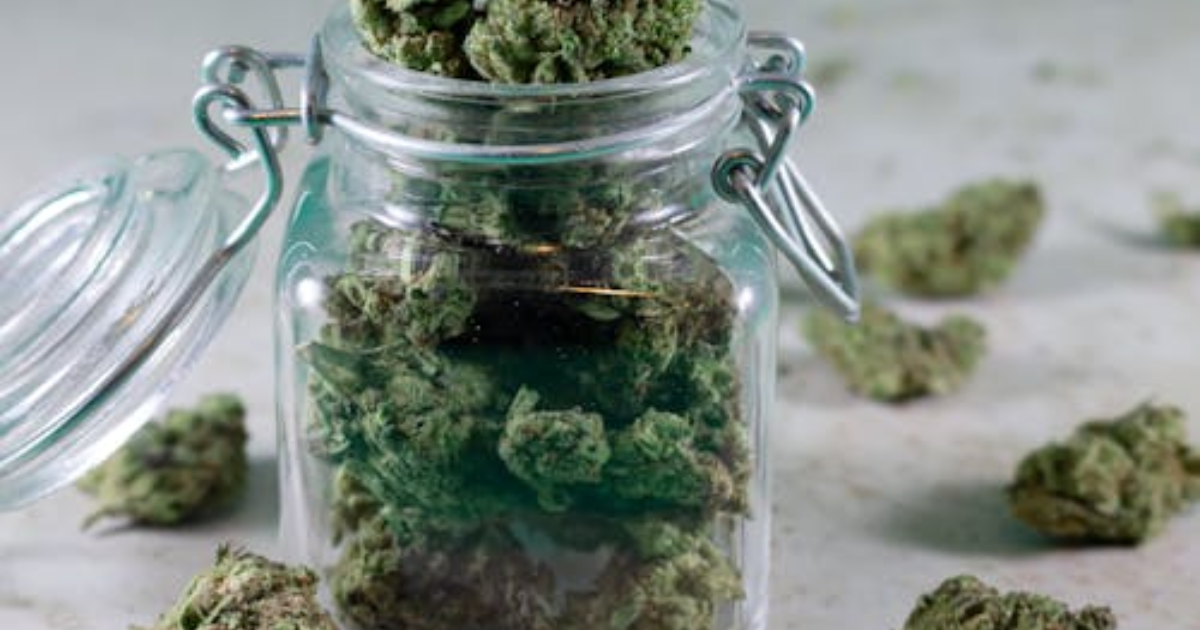
2. Jar Them:
Place your buds in airtight glass jars, filling them about ¾ full. This leaves some breathing space for the buds.
3. Store and Shake:
Store the jars in a cool, dark place. For the first week, open the jars once a day for a few minutes. This lets the buds breathe and releases any moisture. Give the jars a gentle shake to prevent the buds from sticking together.
4. Patience Pays Off:
Let the buds cure for at least 2-4 weeks. If you can resist the temptation and let them cure for a few months, even better! The longer they cure, the smoother and more flavorful they’ll be.
Step 3: Storing Your Buds
1. Keep It Cool:
Always store your jars in a cool, dark place. A cupboard or a basement shelf is ideal.
2. Avoid Plastics:
Plastic bags can generate static, which can pull off those precious trichomes from your buds. Stick to glass jars for long-term storage.
3. Humidity Matters:
Consider using humidity packs in your jars, especially if you live in a very dry or very humid area. These packs help maintain the perfect humidity level for your buds.
A Few Pro Tips
Avoid Touchy-Feely: Resist the urge to frequently touch your drying buds. Oils from your hands can degrade the quality.
Label Your Jars: If you’re curing different strains, label your jars. It’s easy to forget which is which after a few weeks.
Check for Mold: When curing, always keep an eye out for mold. If you spot any, remove the affected buds immediately.
If you’re curious about the history of Cannabis Prohibition, we’ve got you covered in our engaging article about A History Of Cannabis Prohibition In Canada.
For a comprehensive understanding of Cannabis Clones, we recommend exploring our posts on Terpenes: The Hidden Gems in Cannabis Strains, Unveiling The Calming Power of Limonene in Cannabis, and Easy Cannabis Strains for New Growers.